

 English
 русский
 Français
 عربى
 Company News


Industry News
Home / News / Industry News / How Do You Open a Lotion Pump? Step-by-Step Fixes for Stuck Dispensers

Search
Categories
Recommend News
Categories
Recommend News
-
Industry News
-
Industry News
-
Industry News
Oct 27, 2026 - By admin
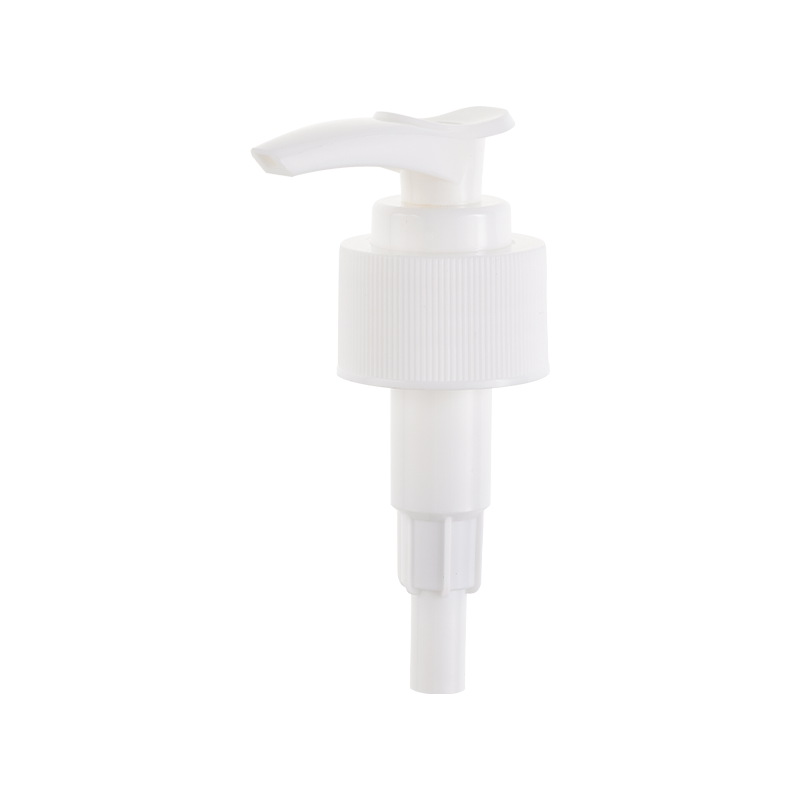
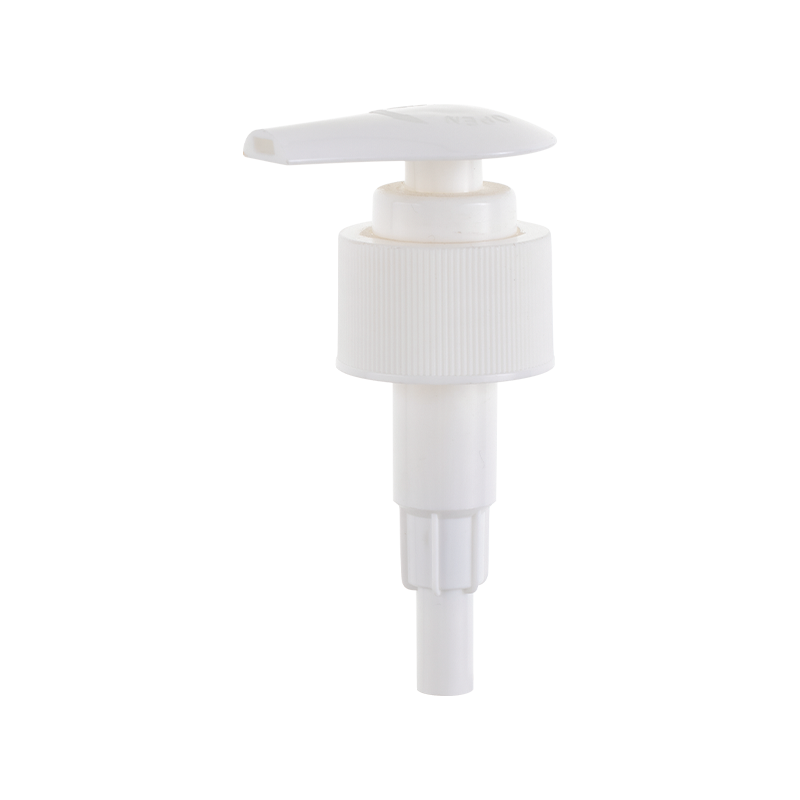
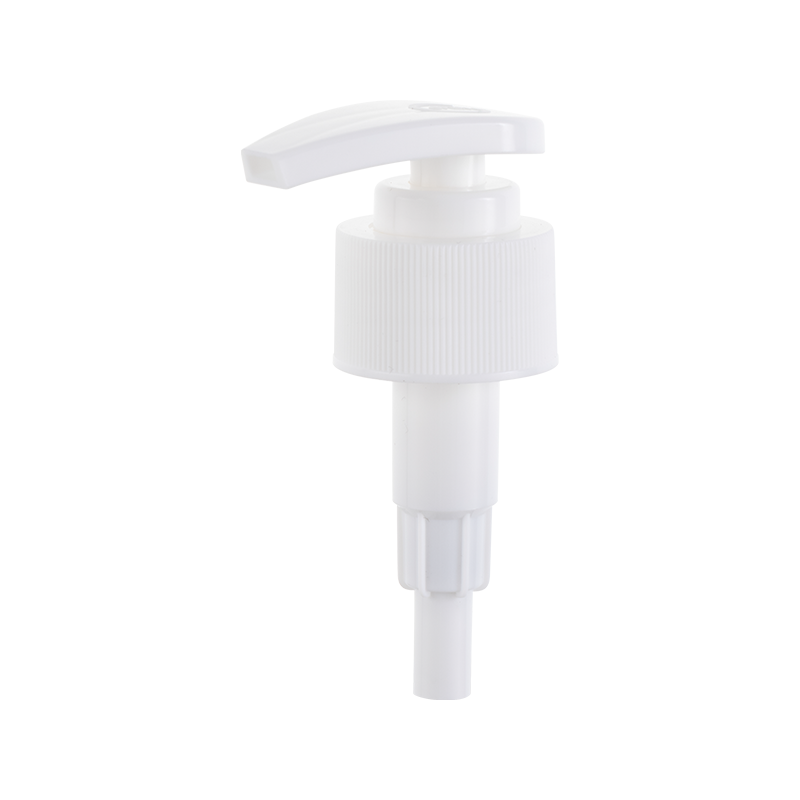
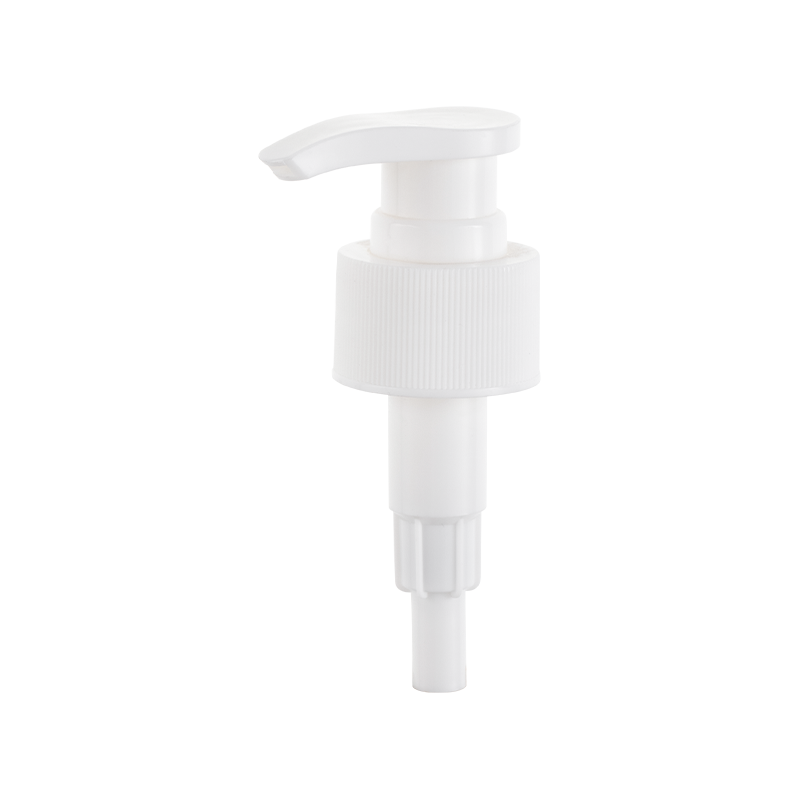
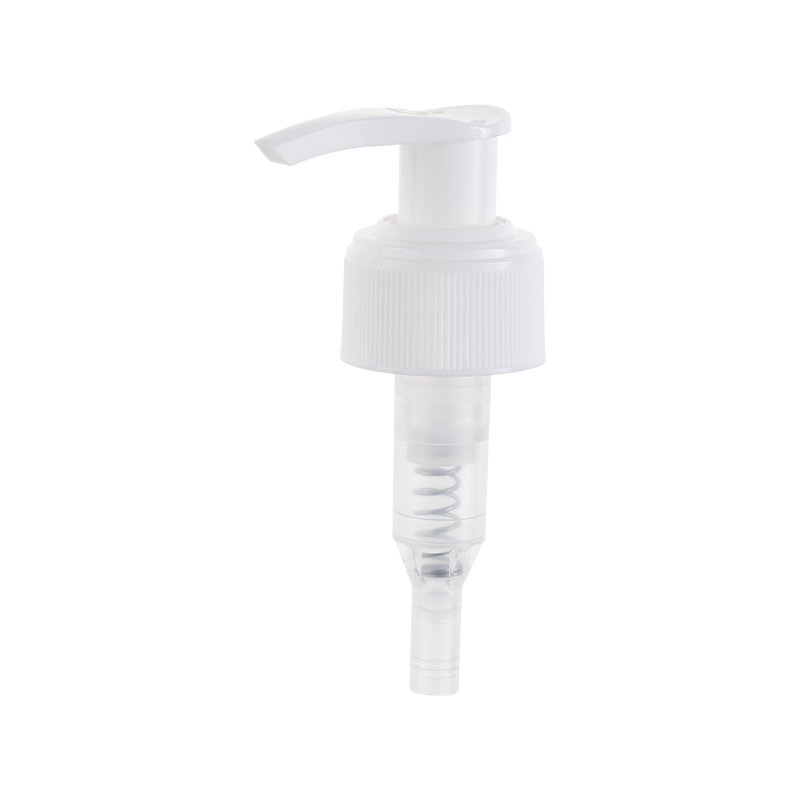 SJ303-A Left/Right-Locking Built-in Pump with Duckbill SpoutThis built-in pump's intuitive press-and-turn lock is highlighted here, making it a great example of secure, hygienic dispensing for lotions and liquids.View Product →
 SJ310-A External Left/Right-Locking Pump with Duckbill NozzleCompared to built-in styles, this external pump offers a classic design with the same twist-lock convenience, ideal for reliable, leak-free dispensing.View Product →
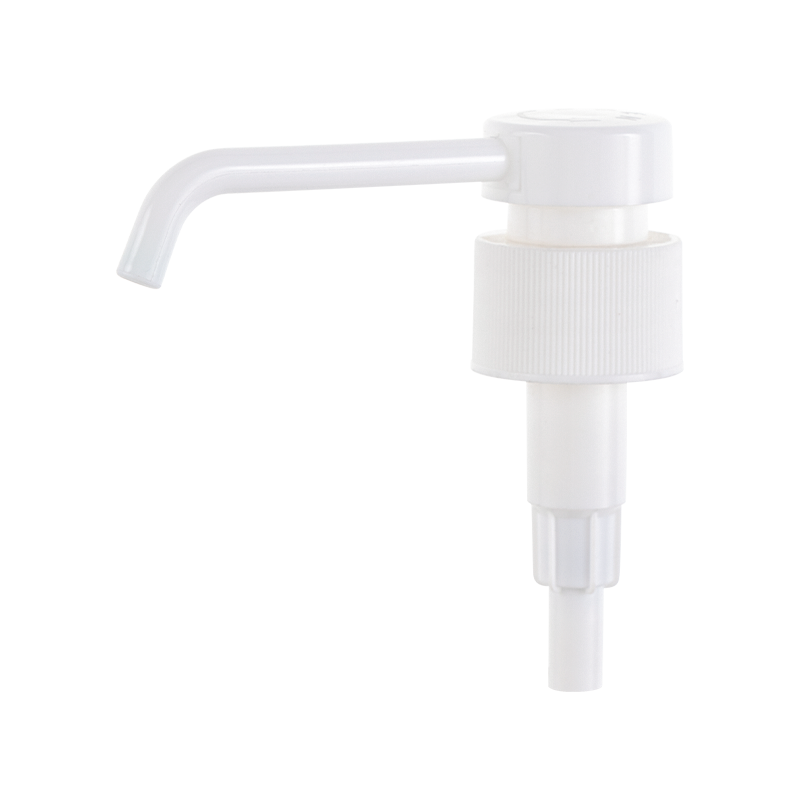 SJ304-A60 Screw-type Long Nozzle Lotion PumpFor precise applications on small-neck bottles, this long-nozzle pump reduces dripping and waste, and its care tips help maintain smooth operation.View Product →
How Do You Open a Lotion Pump? Step-by-Step Fixes for Stuck Dispensers
Content
Have you ever stood in front of a brand-new bottle of lotion, pressed the pump a few times, and gotten absolutely nothing? You push harder, but the pump head stays stuck to the cap. This is one of the most common questions we hear from customers who buy bottled lotion, shampoo, or body wash. The good news is that the solution is almost always simple. In this guide, we'll show you how to open a lotion pump, why it arrives locked, and what to do when the standard trick doesn't work.
Why Do New Lotion Pumps Get Stuck?
New lotion pumps are deliberately locked before they leave the factory. If the pump head were left in the active position, the spring inside could compress during shipping, forcing product through the nozzle and creating a messy leak. Locking the head keeps the piston sealed, the dip tube clean, and the outside of the bottle dry. Different brands use slightly different locking systems, but they all rely on a small set of tabs or ridges that hold the piston down. Once those tabs are rotated into the right position, the spring releases, and the pump head pops up.
The Classic Method: Press Down and Turn
The most dependable way to open a lotion pump is the press-and-turn method. It works on most standard pumps and takes less than ten seconds. Here are the steps:
- Make sure the pump base is screwed tightly onto the bottle. A loose base is one of the most common reasons a pump will not unlock.
- Hold the bottle steady with one hand. Place your other hand on the pump head.
- Find the indentation on the pump head, usually right below the spout. Rest your thumb there and wrap your fingers around the spout.
- Press down firmly and turn the pump head counterclockwise. You should feel a small click as the tabs disengage.
- Continue turning until the head pops up. Release it and you're ready to start priming.
If the pump still doesn't pop up after a quarter turn, try turning it clockwise instead. Some pumps are designed to open in the opposite direction. You might also see a small arrow or lock icon on the collar—use that as a guide.
What to Do If the Pump Still Won't Open?
Sometimes the press-and-turn method is not enough, especially if the pump has been sitting in storage for months or if product residue has dried on the piston. Here are a few fixes that work when a lotion pump refuses to open:
- Re-tighten the base. Grip the collar firmly with one hand and rotate the entire cap with the other. This often frees the pump.
- Take the pump out of the bottle. Rinse the shaft under warm water for a few seconds, dry it, then try the press-and-turn again. Warm water softens any dried lotion and helps the plastic slide.
- Hold the shaft just below the collar with one hand and the pump head with the other. Turn both in opposite directions to break the seal. This is especially useful for pumps with a tight locking ring.
- Check for a separate spout lock. Some pumps require the nozzle to be rotated 180 degrees before the head can unlock. If the spout is pointing sideways, you may need to straighten it first.
Avoid using pliers or sharp tools on the pump. The plastic is strong, but too much force can crack the locking ring. If you need extra grip, wrap a dry cloth around the pump head and try again.
Understanding Lotion Pump Locking Mechanisms
Not all lotion pumps open the same way, so it helps to know the type you are using. The three most common designs in cosmetic packaging are screw lotion pumps, left-right locking pumps, and long nozzle pumps. Screw lotion pumps are the standard choice for most bottles; their locking tabs are molded into the piston, so a simple counterclockwise twist releases the spring. Left-right locking pumps add a visual indicator on the cap, and you turn the head to either side until the lock releases. Long nozzle pumps are screw pumps with an extended spout; they require you to grip the nozzle base instead of the normal cap to avoid bending the spout.
For example, our left-right locking built-in pump with duckbill spout is one of the most intuitive designs. You press down on the duckbill head and rotate it in the direction shown on the collar. The internal locking ring disengages, and the pump head springs up instantly.
SJ303-A Left/Right-Locking Built-in Pump with Duckbill SpoutThis built-in pump's intuitive press-and-turn lock is highlighted here, making it a great example of secure, hygienic dispensing for lotions and liquids.View Product →
If you have an external left-right locking pump, you'll notice that the locking collar sits outside the cap. The press-and-turn motion is the same, but the head may feel stiffer because the collar travels through a wider arc.
SJ310-A External Left/Right-Locking Pump with Duckbill NozzleCompared to built-in styles, this external pump offers a classic design with the same twist-lock convenience, ideal for reliable, leak-free dispensing.View Product →
For a longer, more precise delivery, a screw-type long nozzle pump is often used with small-neck bottles. To open this style, hold the nozzle base firmly with two fingers and turn the lower collar counterclockwise. This keeps the long spout steady while the lock releases.
SJ304-A60 Screw-type Long Nozzle Lotion PumpFor precise applications on small-neck bottles, this long-nozzle pump reduces dripping and waste, and its care tips help maintain smooth operation.View Product →Preventing Stuck Pumps in the First Place
Once your pump is open, a little care can prevent future struggles. When you're not using the bottle, turn the pump head back to the locked position—this prevents leaks and keeps the spring from staying under pressure. Don't over-tighten the cap; an over-tight cap can distort the locking ring over time. If you're packaging your own products, make sure the lotion's viscosity matches the pump's output. A pump that's undersized or oversized for your formula can strain the piston and make unlocking more difficult. For more on matching pump output to viscosity, see our article on plastic lotion pumps.
Frequently Asked Questions
We often get asked a few follow-up questions after someone finally gets a pump open. Here are the ones that come up most often.
Is it normal for the pump to need priming after opening? Yes. Even after the pump head pops up, you need to press it a few times to draw product up the dip tube. The first strokes will release air, then the lotion will flow.
Can I pull the pump head up with force? No. Always press down and rotate. Forcing the head upward before the lock releases can break the tabs.
Why does my pump close by itself? If the pump keeps returning to the locked position, the locking ring may not have rotated far enough. Try turning the head a little more, or check whether the spout was in the correct position.
How do I lock it again for travel? Press the pump head down and rotate it back to the locked symbol or arrow. You'll hear the same click.
| Pump situation | Action that works |
|---|---|
| New pump, head flush with cap | Press down and turn counterclockwise |
| Pump head turns, but doesn't pop up | Tighten base, then repeat press-and-turn |
| Pump is stuck after storage | Remove pump, rinse shaft, dry, and twist |
| Left-right locking pump | Press down and turn to the opening indicator |
| Long nozzle pump | Hold the nozzle base, turn the lower collar |
Final Thoughts
Opening a lotion pump should never be a wrestling match. Once you understand the little locking components inside, it becomes a five-second job. If you're selecting pumps for a product launch or just curious about how they're made, feel free to explore our site or contact us—we're happy to share what we know.
You may also like…
Ready To Customise Your Products?
Specializing in the production of mouse spray gun,
square gun, long rod spray, screw pump, switch pump, detergent pump, small
spray pump and other products
Product Categories
News
Contact Us
-
 Telephone: +86-18857413535
-
 Email: sales01@shangjiasprayer.com
-
 Whatsapp: 8615067463359
-
 Company Address No. 4 Xieli Road, Simen Town, Yuyao City, Ningbo City, Zhejiang Province
